When tickets are updated by Routing, the admin who authorized the service will appear as the "updater" on ticket events.
To change the name that's displayed on ticket events, you can reauthorize Routing with a different Zendesk admin login. You can use any admin login, but we recommend using an integration user such as zendesk@yourcompany.com.
Sample integration user
- Name: Zendesk Integration
- Role: Admin
- Email: zendesk@yourcompany.com
Reauthorizing Routing as a different admin
- Log in to Zendesk with the desired admin login.
- If you have enabled group restrictions for Routing, make sure the desired admin also has access to the app.
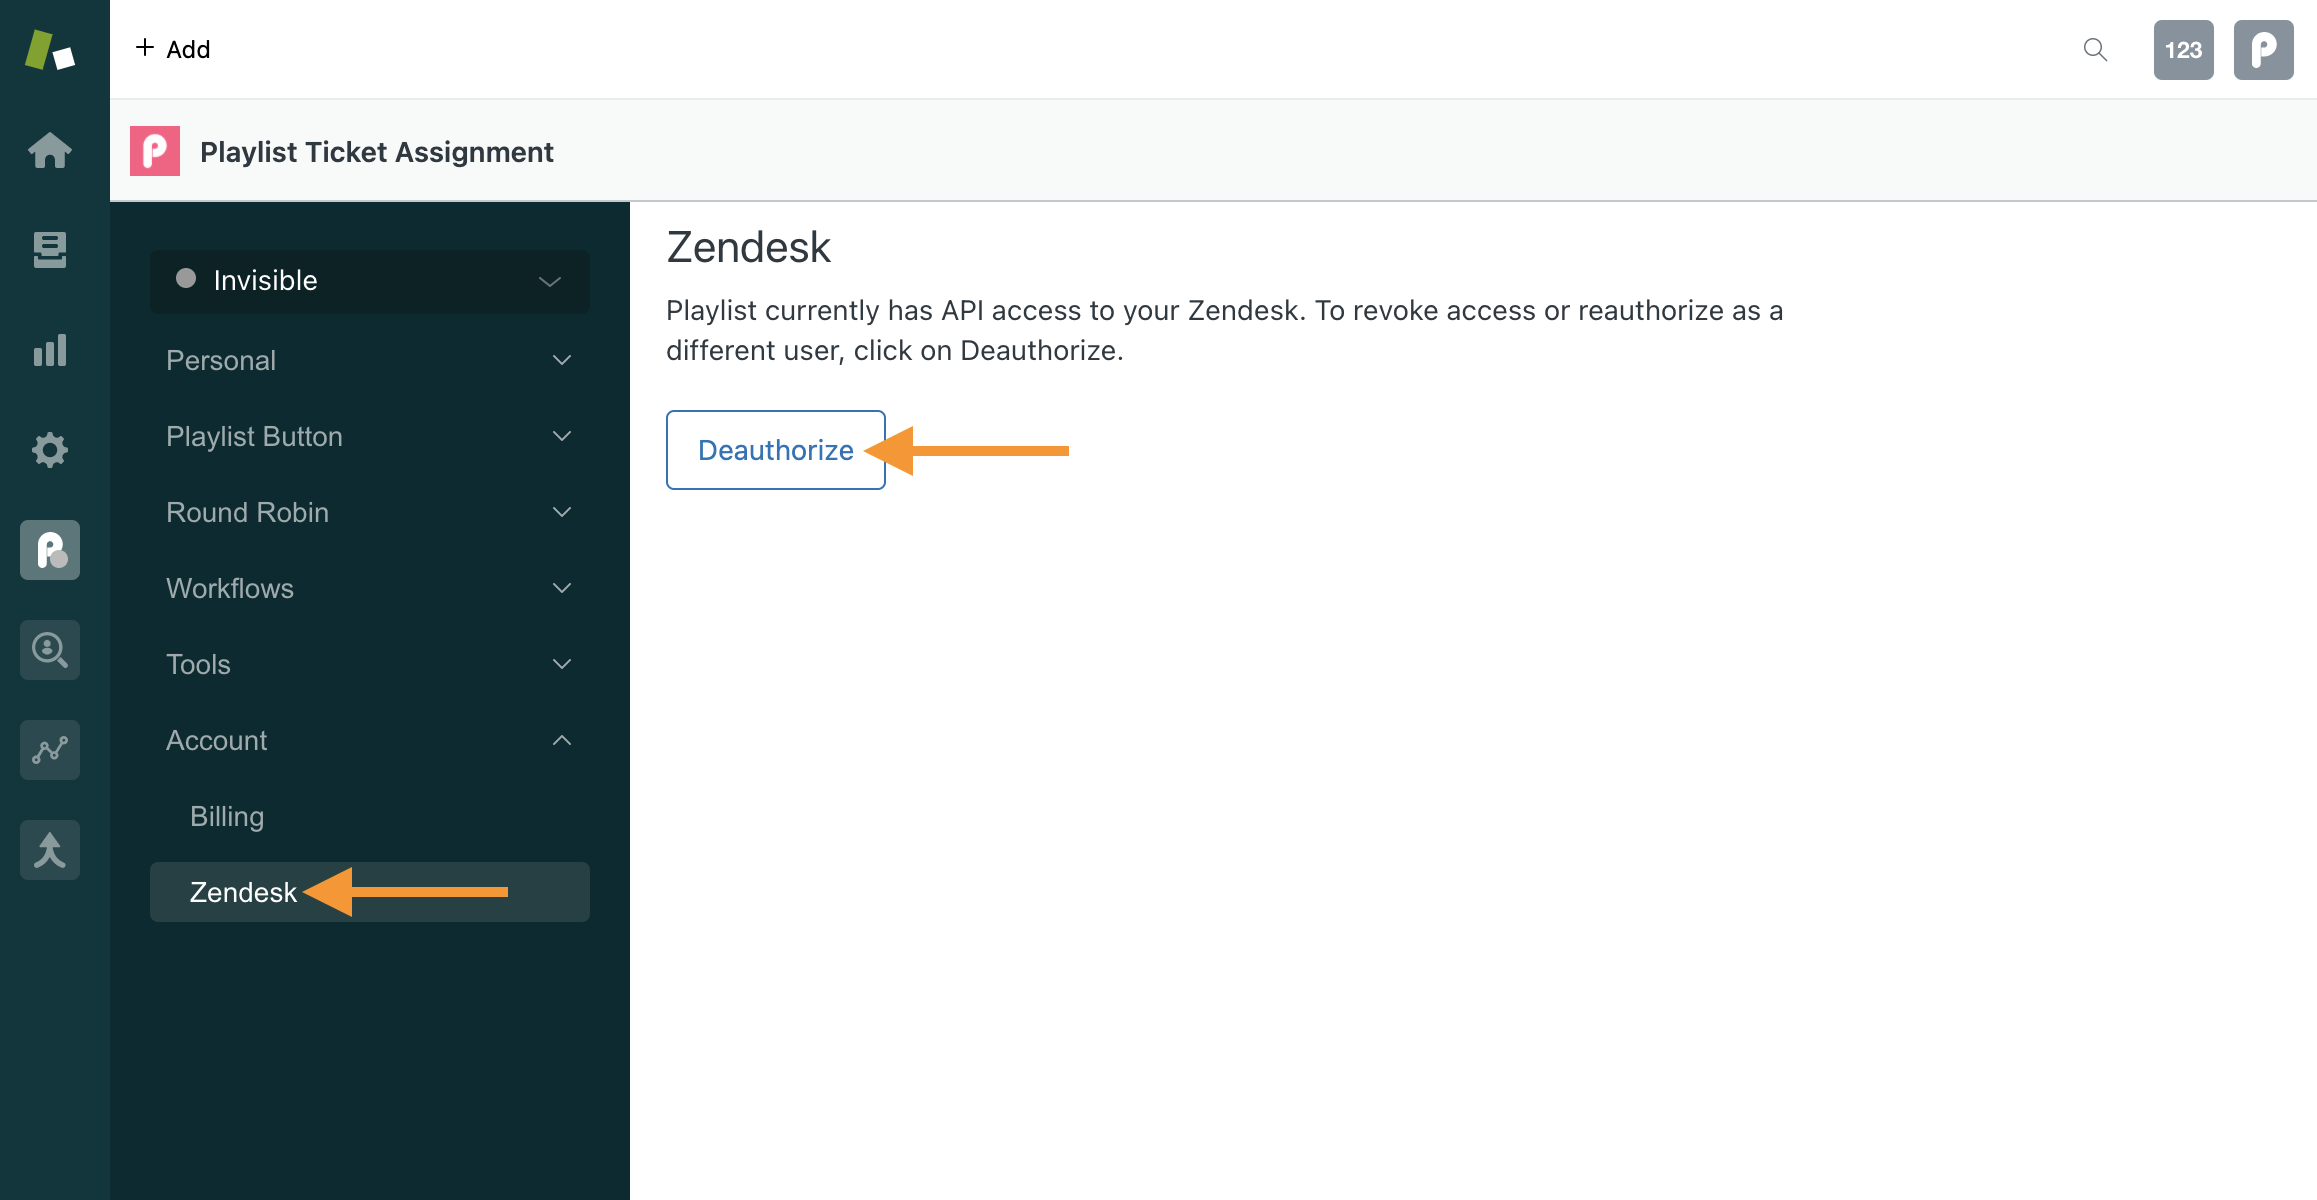
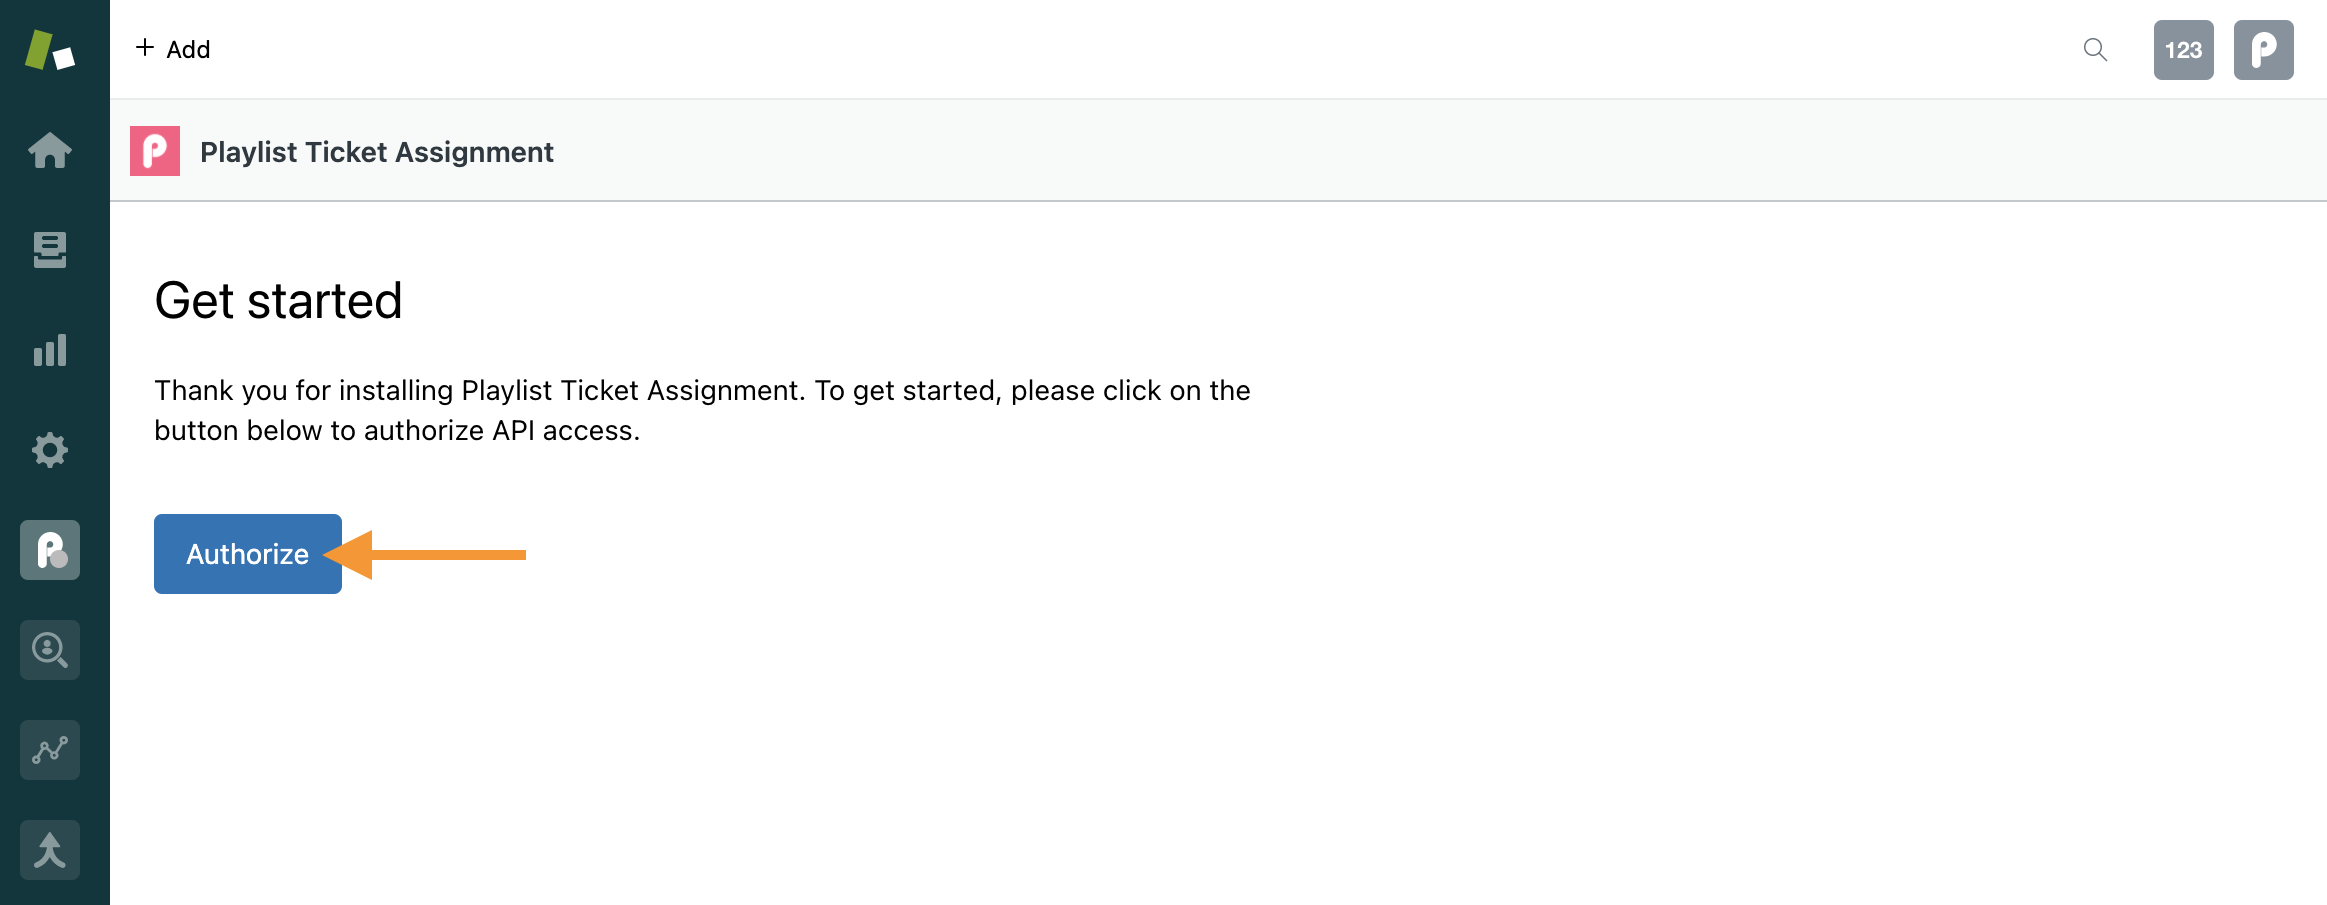
- Go to Routing app setup > Account > Zendesk and click on Deauthorize. The app will automatically reload and redirect you to the "Get started" page.

- While still logged in as the desired admin user, click on Authorize. For security reasons, you must authorize within 10 minutes. If you get an error, please refresh the page and click on Authorize immediately.
